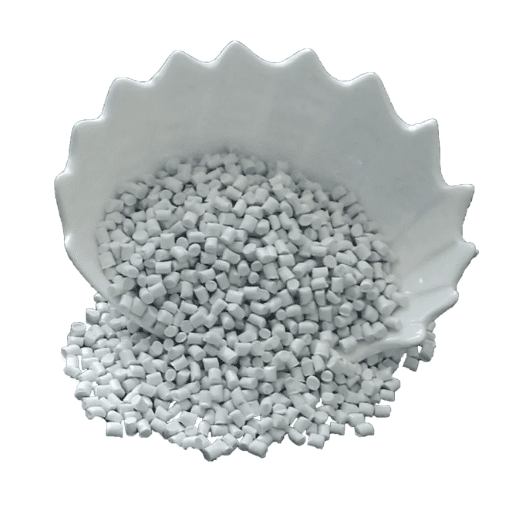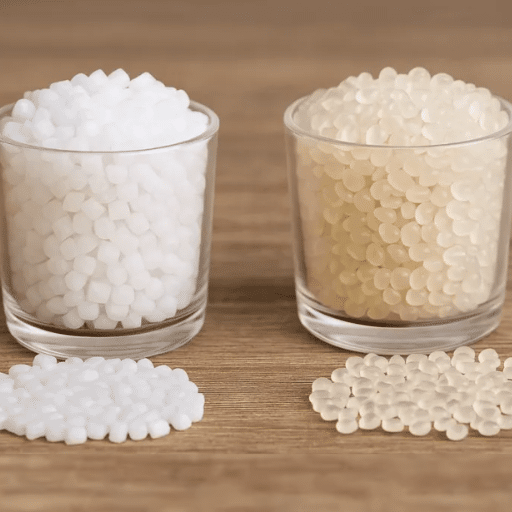
Start PPS injection molding with the exact grade’s instructions, measured process data and clear part checks. Test possible causes of defects against a baseline; one temperature or pressure recipe cannot cover every grade and tool.
A PPS injection molding press file can look complete while its material field says only “PPS GF40.” That leaves the next technician guessing which compound the settings describe. If you’ve inherited a file like that, the first useful change is to establish what it actually belongs to.
This guide turns that problem into a practical trial record. You’ll separate settings from measurements, map defects to possible causes, and build an evidence packet for unresolved failures. It assumes that a grade has already been nominated; use our PPS grade selection guide for the earlier material decision.
Key Takeaways
- Record the full grade, color, lot and governing document revision before trial setup.
- Keep dryer settings, moisture-test results, cylinder settings and measured temperatures separate.
- Match each defect to its location, cavity and process history before changing conditions.
- A visually acceptable sample does not establish finished-part performance approval.
Identify the PPS compound before setting the press
Grade, filler, color and lot identity
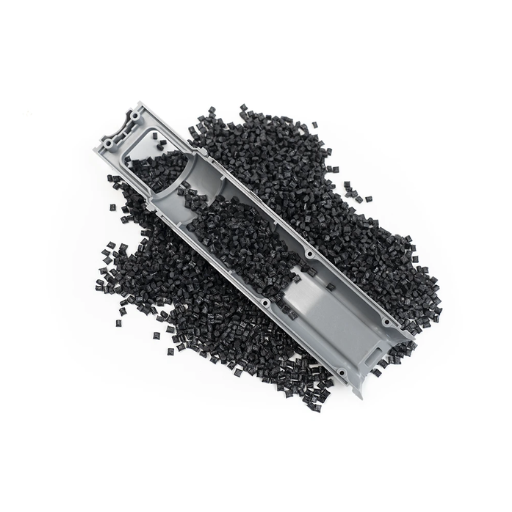
For PPS injection molding, a family name or filler percentage is only part of the material identity. Record the manufacturer, full commercial code, reinforcement description, color designation and lot number from the packaging. Match them to the purchase specification and approved material list, where applicable.
Don’t shorten a long grade suffix just because the machine screen has limited space. Put the complete identity in the linked trial record. Keep any approved regrind allowance and its source separate from the virgin-material description; a blank field must not be interpreted as permission.
Illustrative scenario: A technician receives a setup sheet marked “PPS GF40.” The bag carries a longer grade code and a color suffix. Before copying the previous settings, the technician checks which document and material approval belong to that full code. This hypothetical pause establishes identity; it doesn’t demonstrate that either compound will pass the trial.
TDS, processing instruction and SDS revision
Collect the technical data sheet (TDS), processing instruction and safety data sheet (SDS) for the chosen grade. Note each document’s date or revision and its source. A typical TDS property is not a press setting. It is not, by itself, a pass limit for the finished part.
Manufacturer guidance has a defined scope. The Ryton injection molding bulletin, revised January 2015, gives general suggestions for Ryton compounds. It cannot authorize settings for a different PPS family. Treat an old machine file as a useful lead that still needs this document match.
Preparing a material inquiry? Use YiFuHui’s PPS pellet catalog and include the complete grade code and the current documents you need. That makes the sourcing question specific before your PPS injection molding trial begins.
Build a grade-specific PPS injection molding setup record
Drying method and moisture-test method
A dryer temperature is not a resin moisture result. Record the specified drying method and schedule, then record what the dryer actually delivered. Include material loading and removal times, storage after drying, and the transfer route to the hopper. These fields let you examine handling history without assuming that moisture caused a defect.
If the grade requires a moisture test, record the instrument, test method, sample handling and pass limit. Don’t copy the dryer temperature into the test program by default. How was the result obtained? Without that method, you can’t tell whether it belongs beside a limit from a different test.
Cylinder setpoints, measured melt and mold observations
Keep three records on the PPS injection molding setup sheet: cylinder setpoints, measured melt temperature, and mold temperatures at marked locations. Label the units and method for each. They answer different questions. A hot cylinder display doesn’t tell you the temperature of the resin or the cavity surface.
For PPS injection molding context, the January 2015 Ryton bulletin suggests a measured melt range of 316-329°C for its compound family. That is a dated manufacturer example, not the setting for an unidentified grade. Use the selected compound’s current instructions to fill your operating fields.
Fill, transfer, hold, cooling and ejection fields
Copy this blank worksheet into your PPS injection molding trial record. Enter approved instructions and observations separately; leave unknown values visibly unresolved rather than filling them with a generic recipe.
| Record field | Instruction or reference | Actual observation |
|---|---|---|
| Full grade, color, lot; tool and machine IDs | Document revision: ___ | Labels checked by: ___ |
| Drying and material transfer | Method, time, temperature: ___ | Loading, removal and transfer times: ___ |
| Moisture test, if required | Method and criterion: ___ | Result, units and sample ID: ___ |
| Cylinder zones and nozzle | Setpoints, °C: ___ | Recorded values and time: ___ |
| Melt and mold temperatures | Method and locations: ___ | Values, °C, and time: ___ |
| Filling and transfer | Speed profile; transfer basis: ___ | Fill time, pressure trace and cushion: ___ |
| Packing, cooling and release | Hold profile; cooling; ejection: ___ | Part mass, dimensions and release notes: ___ |
Label pressure units and whether the displayed value is hydraulic or plastic pressure. Record the controller’s transfer basis, such as position or cavity pressure, rather than writing only “automatic.” Add recovery time and interruption history when reviewing the material’s thermal exposure.
The plastic pellet supplier checklist helps organize the document request. Keep this PPS injection molding worksheet linked to those documents so later shifts can trace every populated field.
Check machine and tool readiness
Material path, machine and temperature control
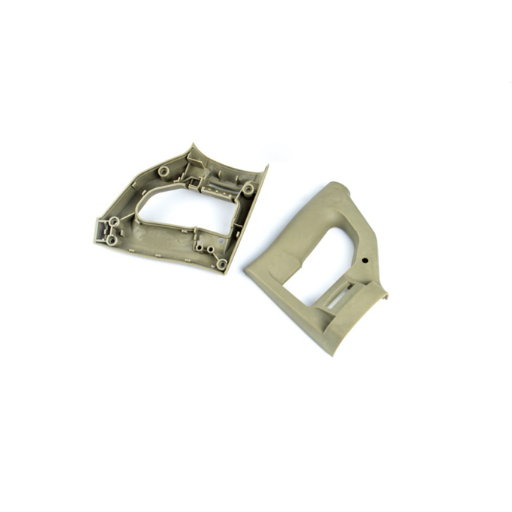
Before PPS injection molding, compare the selected compound’s requirements with the installed equipment. The Ryton bulletin discusses abrasion-resistant components for glass- and mineral-filled compounds. Use that as a reason to review equipment suitability and maintenance records, not to prescribe one screw or barrel to every PPS grade.
Use a short readiness list:
- Check the material path, feed equipment and connections against the approved setup.
- Confirm that the press and heat-control units can support the required conditions.
- Identify the sensors and where each reading is taken.
A controller’s rating does not prove the temperature at a cavity surface.
In the PPS injection molding record, note what you checked and who accepted it. If the required thermal condition cannot be maintained or measured, resolve that limitation before interpreting the samples as material evidence. The same applies to questionable metering or check-valve behavior: an unstable machine record weakens the comparison between trial runs.
Gates, vents, cavities and release
Review the gate and runner arrangement, vent condition, parting surfaces and ejection system with the tooling team. Map cavity IDs to inspection labels. Note inserts, wall transitions and suspected flow junctions so a later defect photograph has a useful location reference.
The Fortron PPS design manual discusses reinforcement, flow direction and dimensional behavior. Its design context explains why a material label alone cannot predict shrinkage in every direction. Inspect dimensions against the actual drawing and agreed measurement condition.
For PPS injection molding startup, interruptions and shutdown, follow the selected compound’s safety documentation and equipment procedures. Confirm ventilation arrangements. Don’t improvise a purge sequence from a different resin family’s article; the readiness record should identify the applicable procedure before the press runs.
Run a controlled trial and capture the evidence
Baseline, part and cavity map
Decide what counts as a pass before you pick the best-looking sample. List the drawing dimensions, surface limits and required function tests. When will you measure the part? State the timing and test conditions so each sample gets the same checks.
For PPS injection molding, an attractive surface is one observation in that record, not a substitute for the other checks.
Establish a PPS injection molding baseline under the approved trial conditions. Identify each retained sample by run, sequence and cavity. Preserve photographs with the gate direction and defect location marked; include a scale where it helps. Save the corresponding process trace rather than relying on a screenshot of setpoints alone.
Illustrative scenario: A mark appears intermittently near a flow junction. The technician records which cavity and samples show it, then compares those observations with handling history and process traces. The mark might lead to a surface-streak investigation or a flow-junction investigation. Calling it “moisture” immediately would discard the other branch before testing it.
Change log and acceptance record
For a useful PPS injection molding comparison, change one factor where you can and track the rest. State your idea before the change: what should happen if it’s right? If you must change linked factors together, log them as a group. That result cannot tell you which single change mattered.
Retain the baseline and the next sample set. Record the change, reason, actual conditions, inspection result and decision. If a defect improves but a required dimension fails, the trial has exposed a tradeoff rather than established an acceptable process.
For a short orientation to common defect names, the following general injection-molding video is optional. Its published description covers defect terminology; it is not PPS-specific processing authority.
Keep thermal-property interpretation separate from trial appearance. Our DURAFIDE 1140A6 heat-data discussion addresses that adjacent question; it does not supply this trial’s settings. If you’re preparing a sourcing inquiry alongside the trial, include the grade, part requirements and requested document revisions through the PPS catalog above.
Diagnose PPS injection molding defects from observed evidence
The following branches draw on TORAY’s TORELINA defect table. They are possible causes to investigate, not confirmed diagnoses or instructions to change every setting together. Keep adjustments within the selected compound and equipment requirements.
Short shots and flash
For a short shot, identify the unfilled region first. Does it recur at the same location in every cavity, or vary with the shot? TORAY lists material quantity, filling conditions, air escape, flow-path geometry and check-ring wear among possible causes. Compare the filling record with the observed location before deciding which branch deserves a controlled check.
Did the machine reach the set speed, or hit its pressure limit? Check the actual trace. In PPS injection molding, a higher setting alone does not prove better filling or packing. If only one cavity differs, compare its gate, vent and flow path with the others before changing the whole process.
Flash in PPS injection molding needs its own location map. TORAY distinguishes resin entering gaps from excessive mold-opening forces associated with flow resistance. Those branches can lead to different thermal or filling changes, which is why a universal “reduce temperature” instruction is unreliable. Inspect parting surfaces and vent condition, then compare actual filling and packing behavior.
Weld weakness, splay and burns
For a PPS injection molding weld-line concern, mark where flow fronts meet and compare that location with the part’s load path. TORAY identifies gate placement, conditions at the junction, local pressure and trapped air as possible factors. A faint line does not establish strength; use the specified part test when the junction is structurally relevant.
For silver streaks or splay, review handling and possible gas generation separately. Check the drying and moisture-test records, but don’t label every streak as wet resin. In the earlier illustrative scenario, a mark tied to the flow junction keeps the weld branch open; a handling change suggests another check. Neither observation alone proves the cause.
Burns can also involve inadequate gas escape or gas generation, according to TORAY. Record whether the mark repeatedly occurs near a flow end. Give the tooling and process reviewers the same sample map so they can compare vent condition with the recorded conditions. An unexplained burn is not permission to exceed the approved process limits.
Use this compact table to choose the next evidence request in PPS injection molding troubleshooting:
| Symptom | Evidence to retain | Possible branch | Next check | Escalate when |
|---|---|---|---|---|
| Short shot | Unfilled region, cavity, fill trace | Feed, restricted flow or trapped air | Compare delivery record with flow-end location | Approved conditions cannot fill the part |
| Flash | Gap location and process trace | Gap entry or mold opening | Inspect tool condition and actual filling response | Tool integrity is uncertain |
| Streak or burn | Mark map and handling history | Moisture, gas generation or escape | Compare handling, thermal history and vents | Cause remains uncertain after controlled checks |
| Distortion | Dimensions, timing and cavity | Cooling, orientation or release | Compare both mold sides and ejection observations | Required geometry cannot be maintained |
Warpage, sticking, voids and contamination
For warpage, record the datum, time since molding and how the part was supported. TORAY lists uneven cooling and ejection as possible causes. The Fortron manual explains why dimensions can behave differently along and across flow. Compare mold temperatures, cooling history and release marks before blaming every bend on the resin grade.
Sticking or pin damage in PPS injection molding calls for inspection of draft, ejection layout, cooling and possible overpacking. Separate a release mark from an internal crack or a failure during a later assembly step. Changing the resin before checking when the damage first appears can obscure the actual problem.
For sinks or suspected voids in PPS injection molding, record wall transitions, gate position and packing history. For foreign particles, preserve samples and review the material path, prior material, interruption history and approved regrind use. Keep these investigations separate: increasing pressure is not a universal remedy for either internal defects or contamination.
Confirm the process window and escalate unresolved failures
Evidence of repeatability versus approval
A PPS injection molding process window needs proof that parts pass across the conditions you tested. Agree on that trial scope with the engineering team. One good shot is not a proven window. Choose the sample plan for the part’s risks and requirements; there is no single count for every part.
Review surface, size and function results together. Mark which conditions you tested and which you didn’t. Heat history and filler affect how dimensions change, but a stable press record alone cannot prove a continuous-use temperature or approval for the application.
Escalation packet and material changes
For an unresolved PPS injection molding failure, send:
- The full grade, color, lot and document revisions.
- Tool and machine IDs, baseline conditions and the change log.
- A sample and cavity map, photos and test results.
Ask a clear question: “What would distinguish a release problem from a material problem?” That gives the reviewer a decision to assess.
Illustrative scenario: A buyer proposes another grade with the same generic filler label. The team rechecks documentation and acceptance requirements before treating the old machine file as transferable. No successful substitution is assumed. A broader change, such as PA66 versus PPS, also needs its own material-selection decision.
For the next sourcing step, send the full grade designation, application requirements and document request through YiFuHui’s PPS pellet catalog. Keep that inquiry linked to the trial record so material identity remains clear when the next PPS injection molding run begins.
Questions before the next PPS trial
Can all PPS grades use one molding recipe?
No. A maker’s process guide covers a stated material range. The same filler label does not prove that two grades can share settings. Begin PPS injection molding with the full grade code and its current instructions. Keep old settings as trial history, then check whether they apply to this grade, press and tool.
How are cylinder, melt and mold temperatures different?
Cylinder setpoints describe the heating controls; measured melt temperature describes the material at the measurement point. Mold temperature describes the tool at identified locations. Record all three separately, with methods and units. A matching controller display cannot prove that the melt or every cavity surface reached the intended condition.
Does low moisture absorption mean drying is unnecessary?
No blanket conclusion follows. Use the nominated compound’s handling and drying instructions, and retain its storage and transfer history. If moisture testing is required, record the specified method and criterion separately. Don’t treat a family-level statement about moisture behavior as permission to omit the grade’s required preparation.
How can I distinguish splay from a weld-line problem?
Start with the mark’s position, shape, frequency and relation to the flow junction. Compare handling and thermal history with the filling record and vent condition. These observations guide separate hypotheses; appearance alone may not resolve them. Where weld strength matters, evaluate the required part test rather than judging only the line’s visibility.
What should I send when a defect remains unresolved?
Send the full material identity, document revisions, tool and machine IDs, actual trial conditions, cavity-linked samples, photographs and inspection results. Include the baseline, each controlled change and what happened afterward. A PPS injection molding reviewer needs that chain of evidence to assess competing explanations without guessing which conditions produced each sample.